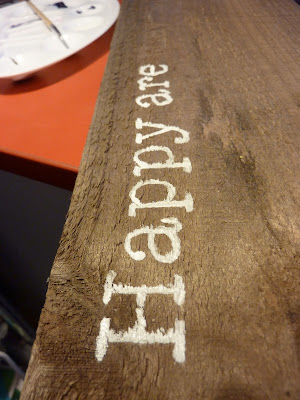
I've always wanted to make my own painted wooden sign and after hunting on Pinterest for some ideas, I found this super-awesome and super-effective technique to get the perfect letters painted on your wooden board! Here's my little tutorial on how I did it.
What you will need:
- An old wooden board (unless you want a new one)
- Paper
- Computer and printer
- Sticky tape
- Ballpoint pen with no ink
- Acrylic paint
- Paint brush
Step 1 :: Grab a piece of wood.
I found mine in Dad's backyard wood scrap pile. It was a bit damp so I dried it out by putting it in front of the heater for a few hours. I brushed off any dirt and leaves and gave it a rough sanding.
Step 2 :: Print off your text in the size you want it and cut it into strips. Arrange these strips on your board as desired.
Step 3 :: Use sticky tape to fasten your strips in their position.
Step 4 :: Grab a ballpoint pen that has no ink left in it and trace over your text, pressing down fairly hard so that a groove remains in the wood underneath.
Tip :: If your text is quite long, you might want to take a break to rest your hand ;-)
Remove the paper and the result should look something like this ::
Step 5 :: Get your paint and brush and start painting! The idea is that you paint over the grooves you left behind from tracing your text.
I used an acrylic water-based non-toxic paint. It said it was suited for wood on the tube so I figured it would do the job!
As my board is very rustic-looking, I wasn't too worried about having perfectly shaped letters. I used quite a thin brush to do these letters. For the main text I only did it once, however for the word 'Lord' I went over it twice as it was larger.
Here is the end result!
I added some swirls on either side because I thought it looked a bit bare otherwise.
Depending on where you plan on hanging/displaying your sign, you might want to protect it with a coat of some sort of sealer. I didn't do that with mine because I figured it'll just be inside anyhow so if you want to do that you'll have to find out for yourself how to do it :-)
Hope you enjoyed my first DIY post. I had great fun making this and am going to use it as a gift!


that is awesome!! :) best tutorial i've read with how to get the letters on there!
ReplyDeleteThanks Kym! Yeah, it took a while to find something that worked but Pinterest never fails ;)
DeleteLove it!
ReplyDeleteThanks Jess!
Delete